Carrying Custom Countertops Up the Wall: Full Height Slab Backsplashes and Range Panels
A kitchen counter is set in a morning. The wall above it is a second job with an entirely different set of problems, and on a lot of projects nobody thinks about it until the tops are already in and someone asks what is going behind the range.
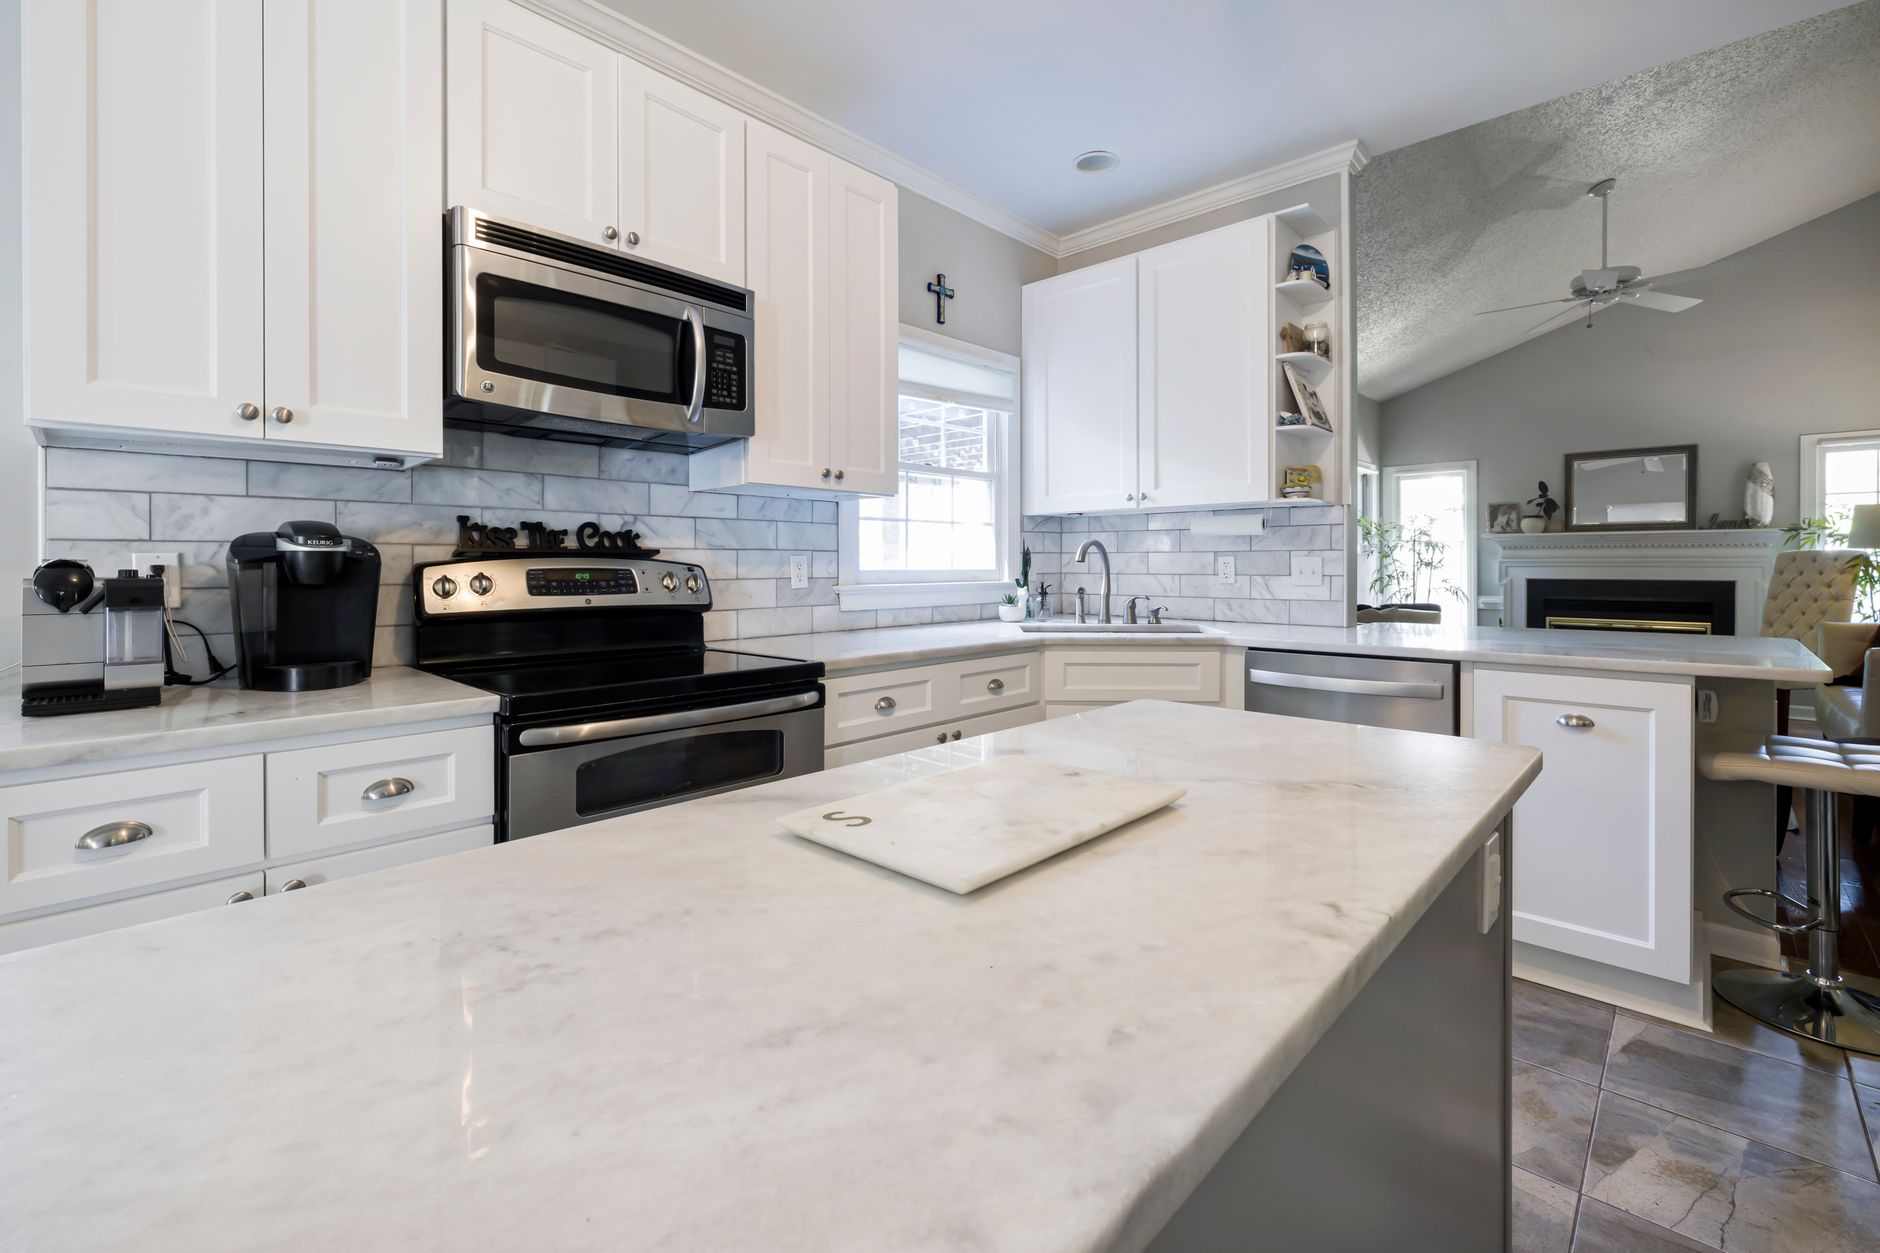
Carrying the same material up the wall is the current answer, and it is a good one. A panel running from the counter to the underside of the upper cabinets, and a taller one behind the cooking surface reaching up to the hood, takes every grout line out of the messiest part of the room and makes the kitchen read as one object instead of three finishes. What it is not is a countertop turned ninety degrees. A horizontal top sits on cabinets and gravity holds it where it was put. A vertical panel has nothing underneath it. Its entire weight is trying to slide down the wall, and something has to carry that load for the life of the house.
That single fact is why the vertical surface is so often a different thickness from the counter below it. A three centimetre stone panel four feet tall and eight feet long is a serious mass to hang on drywall, and it eats slab at the same rate as a work surface does. A six millimetre porcelain slab covers the same wall at a fraction of the weight, arrives in sheets long enough to run corner to corner with no joint at all, and can be bonded to a prepared wall the way large format tile is bonded. It is common to see thirty millimetre stone on the counter with a thin sheet above it, sometimes matched to the top and sometimes chosen deliberately against it.
The wall is the substrate, and it decides the result
A large flat plane held near a wall advertises every defect in that wall. Tile hides a bowed wall because grout joints break the plane up and each small piece can sit at its own slight angle. A single sheet cannot do that. It bridges the high spots and leaves voids over the low ones, and a void behind thin material is where a crack starts.
So flatness is measured before anything is ordered, with a long straightedge held in several directions rather than by eye. The tolerance for large format work is tighter than most plasterers work to, and a typical remodel wall will not meet it. The fix is a skim or a float coat, cured before template day, and it belongs in the estimate as its own line rather than arriving as a surprise on installation morning.
Plumb matters separately. A wall that leans shows a wedge at the counter or at the cabinet line, and the panel cannot be racked to split the difference because its own edges are parallel.
What is behind the drywall is the other question. Painted drywall is a bond breaker: the adhesive grips the paint film, the paint film grips the paper, and the paper is what eventually lets go. Glossy paint is sanded back to a key at minimum, and behind a range many shops want the drywall out and cement backer board in its place, which gives a stable non combustible substrate.
Templating happens after the counter is in, not before
The panel is measured off the installed counter, not off the drawings. This is the part of the sequence that causes the most frustration, because it means a gap of days or weeks between the tops going in and the wall being finished.
There is no way around it. The counter defines the bottom line of the panel along its whole length, and that line is never perfectly straight or perfectly level. Cabinets are shimmed, walls move, and the back edge of the top follows the wall it was scribed to. A digital template records the real bottom line, the real cabinet undersides, the real window return, and the real position of everything that has to be cut out.
It also records what happens at the ends. A panel that dies into a return wall needs the same scribe or caulk decision the counter needed. A panel with an exposed vertical edge at the end of a run needs that edge finished, and on a glazed sheet that means a mitre or a profiled edge rather than a raw cut, because a raw cut shows the body colour under the printed face.
Outlets are located before the panel is cut, and the boxes need extending
Receptacles are required at intervals along a counter, and where they land relative to the panel is a decision that almost never gets made in advance. Made late, it becomes a repair.
Two things get settled with the electrician before template. First, whether the boxes sit where they should. Random heights and spacing look accidental on a tiled wall and look like an error on a single sheet, so this is the moment to have a box moved, or to agree that the receptacles are going into a strip under the upper cabinets instead and the field stays clean.
Second, and this is a code requirement rather than a preference, the device box has to finish flush with the new surface. The panel plus its adhesive bed adds real depth, often half an inch or more, so a box left where it was now sits recessed behind the finished wall. Box extenders solve it, they are cheap, and they go in before the device and the cover plate. A device floating on its screws in front of a recessed box is both a failed inspection and an outlet that gets looser every time something is plugged into it.
Ask for slightly oversized cover plates while you are at it. On brittle material, a couple of millimetres of relief around a cutout is cheap insurance.
Cutouts in thin material
Every hole in the panel is a weak point, and thin large format sheets are in tension across their whole face. That combination makes cutting a shop operation, on a bridge saw or a router with water feed, from the template, before the sheet ever reaches the wall. Cutting a rectangle into a hung panel with a grinder is how a sheet ends up cracked from the corner of an outlet to the edge.
The rules are consistent whoever is doing the work. Internal corners get a radius, never a square. Relief holes are drilled at the corners first and the straight cuts run between them, so the blade never has to turn inside the material. A cutout kept a couple of inches back from a panel edge is far stronger than one leaving a narrow bridge. Two outlets close together are treated as a single opening when the strip between them is too thin to survive handling, and that call belongs at template rather than at the saw.
Behind the cutout, many shops bond mesh or fibre tape to the back face across the corners. It does nothing for appearance and a great deal for the odds of the sheet arriving intact.
Getting it to stick, and staying stuck
Adhesion is the whole structural design of a vertical panel, so it is worth knowing what is being used.
For thin porcelain and sintered sheets the normal answer is a polymer modified large format mortar, notched and then flattened, with the back of the sheet buttered as well. The goal is full contact, not dabs. Spot bonding a large sheet leaves voids that flex and crack. Behind a range, full coverage stops being a preference, because a hollow section heats and cools differently from a bonded one.
For thicker stone panels the approach shifts toward mechanical help: epoxy or construction adhesive plus concealed clips or a channel screwed into studs, so the fasteners carry the weight and the adhesive holds the panel flat.
On the day, the practical problems are handling and slump. A full height sheet goes up on a frame or vacuum cups with more than one person, then it is held while the mortar grabs. Setting blocks and wedges keep it off the counter, bracing keeps it from sagging overnight, and nothing gets cleaned up until the bed has set.
The joint where the counter meets the wall panel
This joint is the one detail that separates work that stays tight from work that opens up in the second winter.
The panel does not sit on the counter. It is set on shims with a small consistent gap, a sixteenth to an eighth of an inch, and the shims come out once the adhesive has cured. The counter and the wall move independently by small amounts with season, load and the settling of the cabinets underneath, and a counter with a heavy piece of stone resting on its back edge is being asked to carry something it was never designed to carry.
That gap is filled with a neutral cure silicone, colour matched and tooled, never with grout and never with a rigid filler. Rigid material in a moving joint cracks, and it cracks along the most visible line in the kitchen. The reward for doing it this way is that the panel also covers the original caulk line at the back of the top, so the wavy wall joint disappears behind the sheet entirely.
Some jobs go further and design a deliberate shadow reveal, a recess with the panel standing clear of the counter, so the joint reads as intended rather than hidden. That only works if the counter’s back edge is properly finished, because it is then on show.
Behind the range, where the panel is an appliance question
The wall behind a cooking surface is the hardest working piece of vertical surface in the house, and its constraints come from the appliance rather than from the material supplier.
Both the range and the hood publish required clearances, including the rear wall finish and how close a combustible surface may sit, and those documents are read before the panel is designed. A professional range with high output burners puts real thermal load on the wall above it, and that panel leans toward material with no resin in it. Sintered and fired surfaces do not care, but a resin bound sheet in that position is where the binder becomes a liability, the same way it does over a firebox.
Grease is the daily problem rather than heat. It films rather than splashes, it travels further than people expect, and a continuous sheet with no joints is the easiest surface in the kitchen to keep. That is the practical argument for running slab behind the range even where the rest of the wall gets tile.
The last detail is the hood. A hood anchors into framing, so blocking goes in while the wall is open and the mounting is worked out before the panel is bonded, because drilling anchor holes through a finished sheet at height is a risk nobody needs to take. Where the panel dies into the hood or an upper cabinet, it is cut to the appliance rather than the reverse, and that joint is sealed rather than left open to grease.
Settle all of it before the electrician closes up: where the boxes land and whether they get extenders, whether the wall needs a float coat or backer board, what holds the hood, and what the joint at the counter is going to look like. Each one is a conversation while the wall is open and a demolition once the panel is bonded to it.